The demand for new applications is projected to increase in the near future, spurred by the growing recognition of mobile internet convenience and the need to shop, work, and entertain online due to the pandemic. However, this market is saturated already and users are overwhelmed with infinite choices.
Against this backdrop, app developers are compelled to create a solution that will captivate the user’s attention and prove intuitive and relevant to the user.
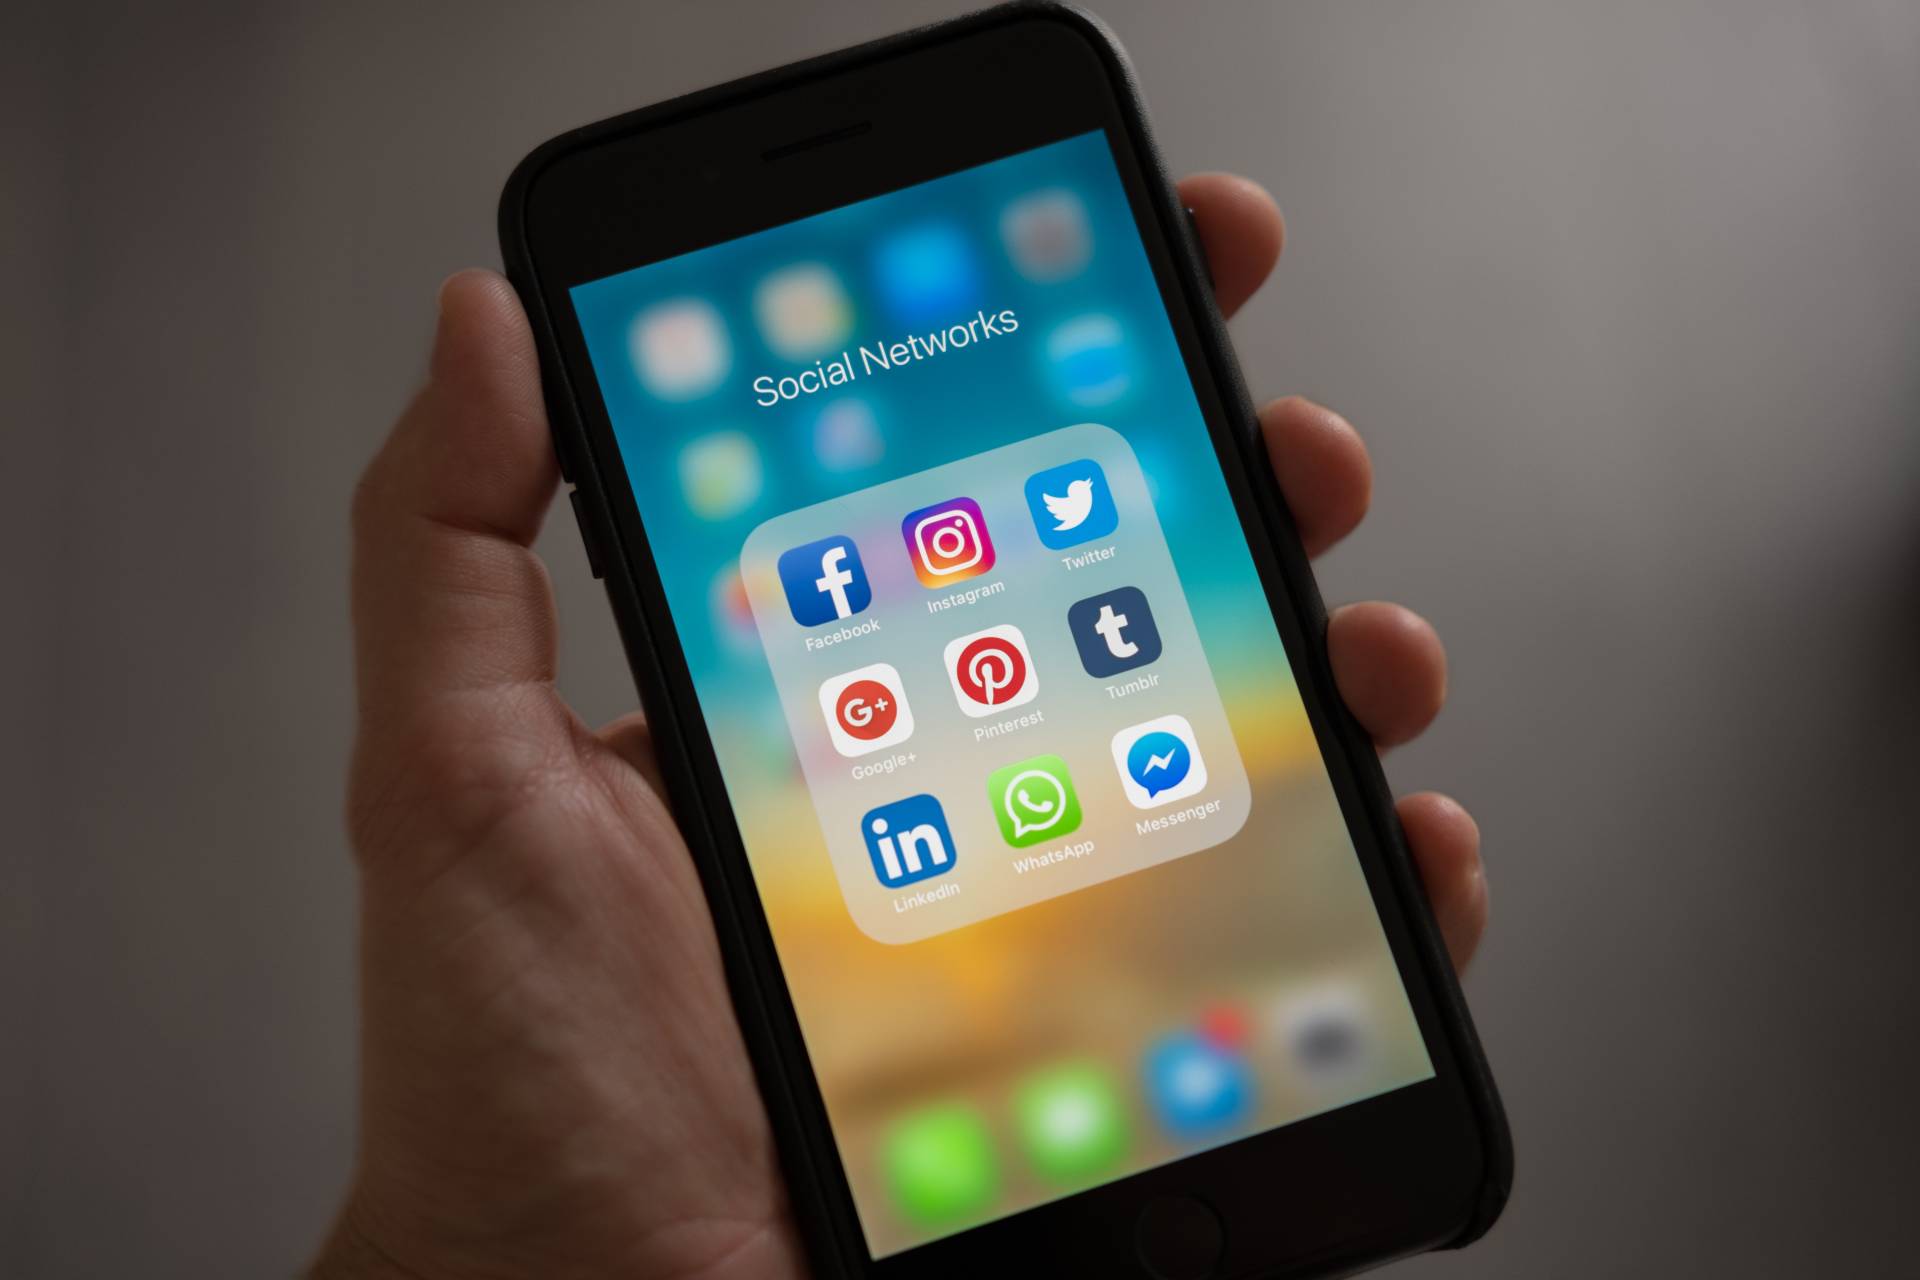
Today, mobile design is a way to meet user expectations and communicate brand messages to app users. Even the smallest UX or UI elements play a role in delivering certain meta-information to the app user.
A visually appealing and user-centered mobile app design is the result of a well-grounded strategy that the design team adheres to. In this walk-through guide, we will outline the essential stages of mobile app design and explore the dos and don’ts of each.
Stage #1: Concept
In the beginning, the design team outlines the concept of the application and its core architecture, interface, and usability elements. For this, they carefully examine the project’s requirements, documentation, and business strategy, and, if possible, have a sit-down with the client or the project manager to discuss their expectations for the end-product’s UX and UI in greater detail.
When brainstorming on the design concept, designers also need to take into account the mobile app’s target audience, the technologies it will use or get integrated with, and the intended operating platform. In the end, the team should have a good understanding of the mobile app’s color scheme, look and feel, and user flow, as well as the scope of work lying ahead of them.
Stage #2: Market and User Research
Next, designers go on to explore what similar mobile apps the market has to offer, paying close attention to the most popular ones. This is done to identify the best and newest UX practices as well as the most common interface elements for the particular app type your design can benefit from.
Because user research is a more in-depth study, it can be considered optional, especially if deadlines are pressing. However, when your team spares time for it, it will help to tap into the needs, behaviors, and motivations of the app’s target audience. Proceeding from these insights, the team can implement design solutions that will prove truly valuable, allowing the app to stand out due to its relevance.
Stage #3: Sketches
After refining the initial app concept according to the market and user research results, designers can proceed with creating sketches. These are rough visual representations of the app’s layout and graphic user interfaces, meant to illustrate the initial app idea and drawn freehand on paper or with basic graphic software.
On the face of it, sketches may seem unnecessary, yet they shape the design team’s vision and help to verify how well they understood the specifications obtained from developers and the product manager. After the app sketches are reviewed and necessary changes are made and approved, the design process becomes more intricate.
Stage #4: Wireframes
Next, the design team focuses on elaborating the functionality and user experience of the app’s layout. You supplement the screen sketches with various user interface elements, like input fields, icons, buttons, progress bars and such, and describe how they will work when users interact with them. If you favor two distinct elements and do not know which will suit your app best, run a quick A/B test on a control group and keep the option preferred by the majority of respondents.
When working on wireframes, it is advisable to abide by the iOS or Android interface design guidelines: this way you make sure the end-product has the look and feel consistent with the intended operating system. As a rule, wireframes are static and low-fidelity, but with their level of detail and scope, it already requires a digital design tool to build them.
Stage #5: Mockups
This is when you transform the plain schematic wireframes into a realistic semblance of your future mobile app. For this, the team introduces color, graphics, animation elements, and navigation visuals to the screens and aligns the spacing between screen components. Apart from this, designers standardize fonts and typography and insert labels and texts into the intended places. Nonetheless, mockups remain static and unclickable.
With mockups, you can finally have a bird’s-eye view of your design and see whether all your decisions played well or if some aspects need improvement. They also allow front-end developers to fairly estimate how long the development will take.
Stage #6: Prototype
During the final stage, your app design finally becomes an interactive prototype. For this, you need to make elements clickable and connect all the screens and modules together as they are intended to be. As a result, you get a high-fidelity manifestation of the app, which can simulate the user journey and experiences.
Since the prototype is not tied together with the backend, it is not technically a finished product. Nevertheless, it more than qualifies to be demonstrated to the client or stakeholders. As the prototypes are reviewed, refined, and receive final approval, the design team can hand it over to developers to finalize the project.
What’s next
Naturally, last-minute improvements and adjustments in the application’s UX or UI will, in all likelihood, be required before the release, but they will be minor if prototypes are detailed and thorough. All in all, the six steps outlined above make up a feasible roadmap to an appealing and user-friendly design for your new mobile app.